Gray camo netting by Sunny Garden Market
At Sunny Garden Market, we’re proud to offer our gray camo netting, a top-tier product designed for unbeatable outdoor performance and stylish camouflage applications.
Whether you’re planning a woodland hide, or an innovative tactical décor project, our netting provides the ultimate protection, concealment, and versatile use.
Our gray camo netting is constructed from premium 420D fabric, making it twice as strong as many standard camo nets on the market. This durable and lightweight material is rot-resistant, mold-resistant, and treated for waterproof protection.
It’s the perfect solution for demanding conditions ranging from snowy tundra to desert camouflage environments, ensuring your gear and equipment stay hidden, safe, and secure.
Why choose Sunny Garden Market gray camo netting?
Sunny Garden Market has built a reputation for providing high-quality camouflage netting for both professional and recreational use.
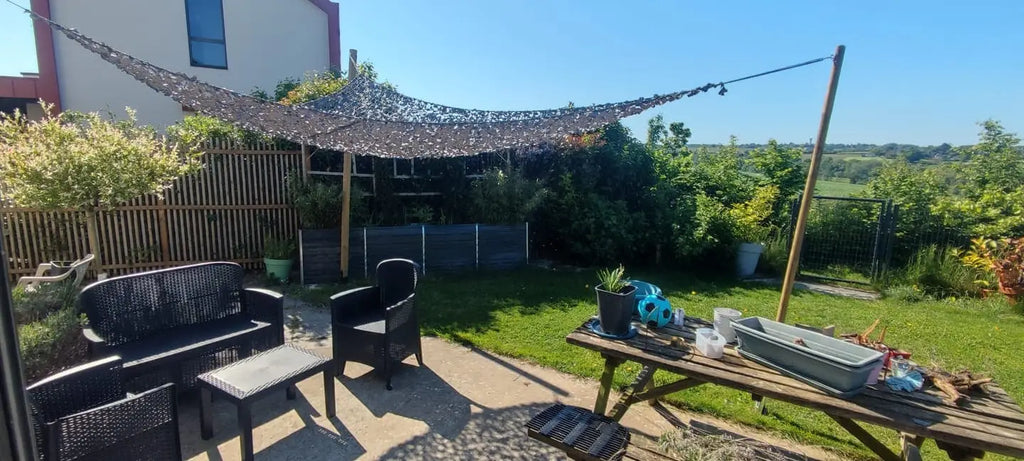
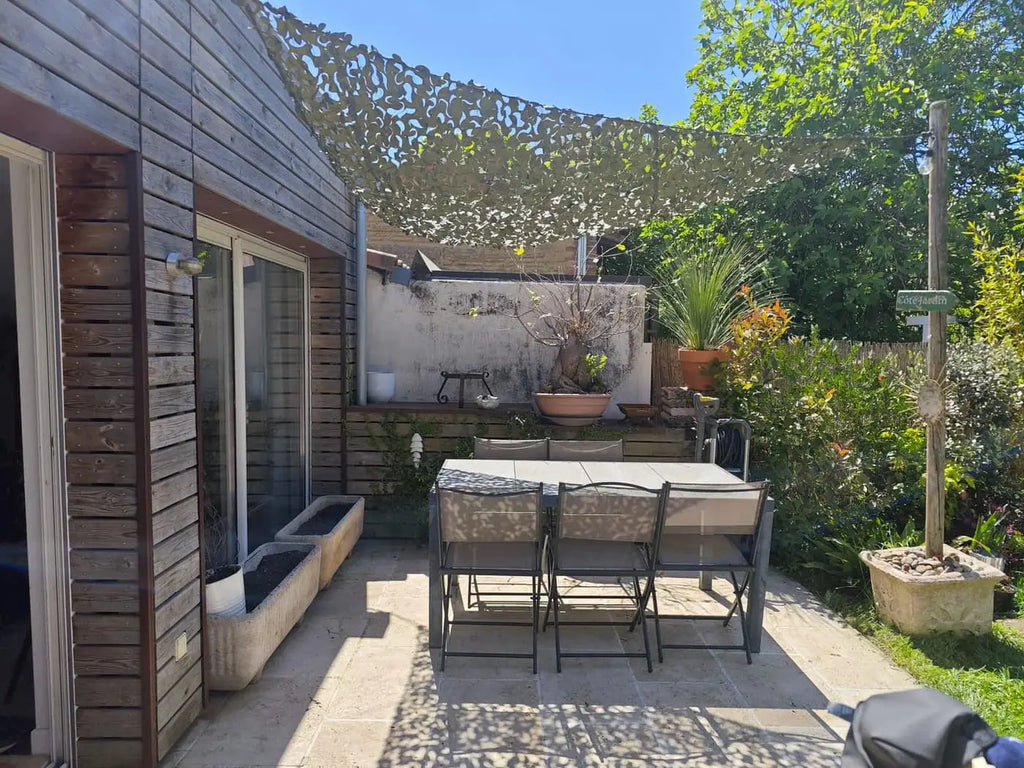
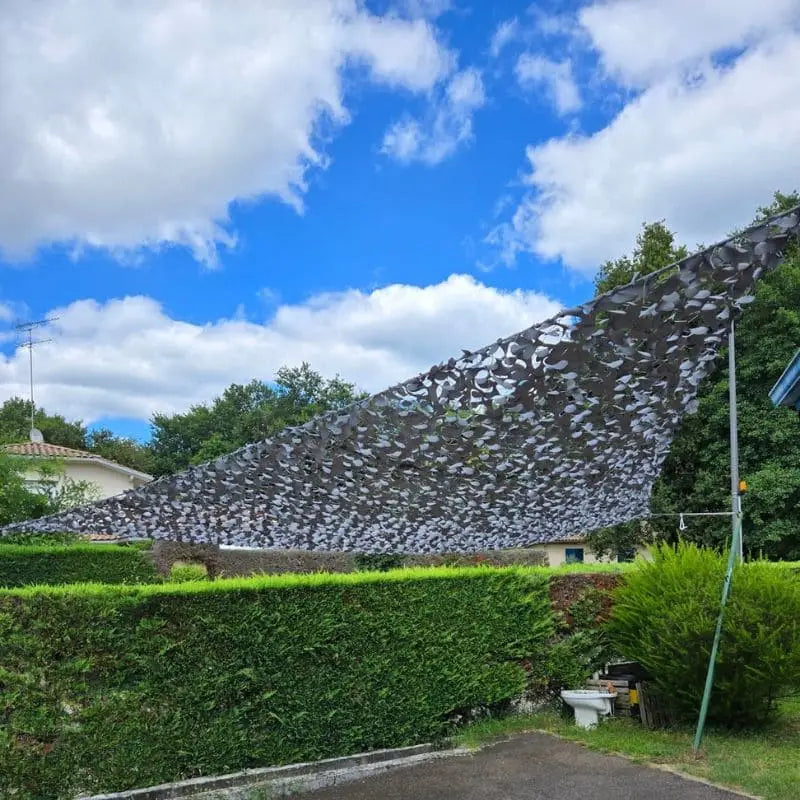
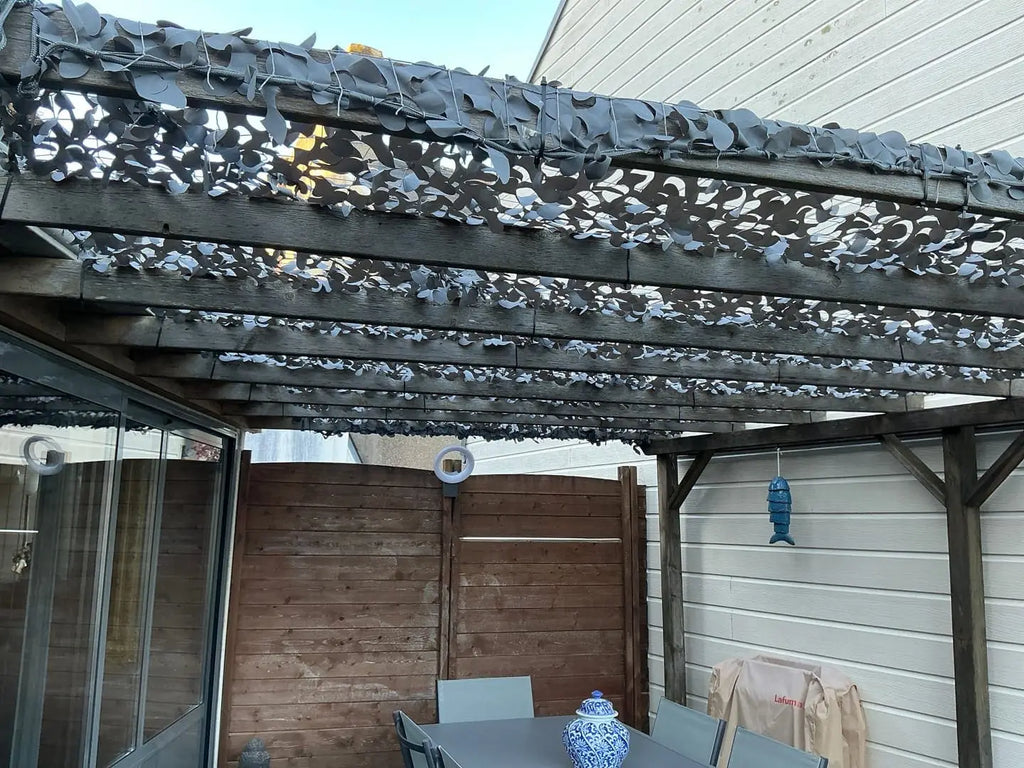
Our gray camo netting is a universal camouflage solution, expertly designed to blend into various surroundings, whether it’s a woodland camouflage netting, urban architecture, or snow-covered landscapes. Unlike basic nets, our nets eliminate glare and shine, keeping your presence concealed from both human observers and wildlife.
We specifically designed this product for users who demand premium quality, reliability, and versatile application. Our netting is reversible, offering grey on one side and white on the other, providing excellent camouflage patterns for different environments like snow, urban structures, or natural foliage.
The subtle colour makes it an ideal choice for professional photographers seeking the perfect photo backdrop or hunters needing a reliable blind to hide from duck, deer, or other game.
Features and benefits
-
Constructed with ultra-strong 420D fabric, superior to many lighter fabrics like 150D or 210D.
-
Available in a wide range of sizes, dimensions, and types, from compact packs for survival kits to bulk rolls for large-scale projects.
-
Lightweight yet strong, making it easy to deploy, store, and transport in a bag or car.
-
Features leaf-cut designs that mimic natural foliage and reduce unnatural edges.
-
Waterproof, rot-resistant, and UV-treated for long-term durability.
-
Offers shade and protection from the elements while maintaining airflow through its mesh construction.
-
Ideal for a variety of applications like camouflage, airsoft, camping hunting, shooting, event décor, theme parties, games, watching wildlife, and digital camouflage displays.
Applications and versatility
It’s used by the British Army, French Army, South Africa forces, Austrian Armed units, and the air force for operations requiring disruptive pattern material or universal camouflage effectiveness.
Outdoor enthusiasts, hunters, and airsoft players appreciate its adaptability for hunting blinds, hide setups, and survival shelters. Whether you’re preparing a woodland camouflage netting, a desert camouflage shade, or a snow camouflage hide, this netting performs under all conditions.
It’s also perfect for decorative projects and theme events, offering a unique aesthetic for store displays, events, or custom tactical décor. Businesses buy it in bulk for surplus sales, while individual consumers shop online for easy purchase and quick shipping. It’s even suitable for women’s clothing or stage tops, adding an edgy, urban twist to fashion.
Specifications and options
-
Colour: gray, reversible to white for snow camouflage.
-
Patterns: available in woodland, digital camouflage, or classic disruptive camouflage patterns.
-
Sizes and dimensions: available in many types, from lite lightweight options to heavy-duty versions for large areas.
-
Retardant: available in fire-retardant models for safe indoor or outdoor use.
-
Mesh structure ensures ventilation while maintaining concealment.
-
Sold by roll, by specific size, or in custom packs for individual needs.
-
All nets are treated to be waterproof and resistant to rot and mold.
Why Sunny Garden Market is the best choice?
Sunny Garden Market stands above competitors because we combine innovative design with premium materials. Our nets are strong, durable, and resistant to harsh weather. The 420D fabric offers a premium feel and twice the strength of conventional camo netting. Our nets are easily installed, reversible, and tailored for a variety of uses.
We pride ourselves on customer satisfaction, offering competitive prices, a generous return policy, and fast shipping. When you shop with Sunny Garden Market, you’re choosing the best in quality, value, and service. Whether your goal is operational success, event décor, or outdoor protection, our gray camouflage netting delivers unmatched performance.
Shop now and experience the difference
Sunny Garden Market offers a wide range of products for every need. Explore our selection of camouflage netting, camo netting and discover why professionals worldwide trust our brand.
Order today and join countless satisfied customers who have received premium netting solutions from Sunny Garden Market. Our nets are in stock and ready for fast shipping, ensuring you’re equipped for any environment or application. Invest in the best choose Sunny Garden Market and take your projects to a new level of quality and performance.


 Heavy-duty fabric designed to withstand outdoor conditions